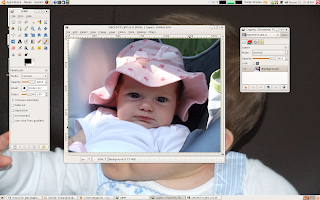
Start with your original image open in GIMP.
 Use the ellipse tool (on the top row second from the left) to choose the iris (colored part) of the first eye.
 Hold down the shift key and click to add the second eye to the selection. To adjust the circle on the second eye let go of the shift key and make sure you choose one of the corner boxes to move. Otherwise you will make a second ellipse on that eye. This may take a few times to get right until you are used to doing it.
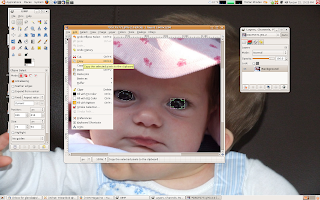
 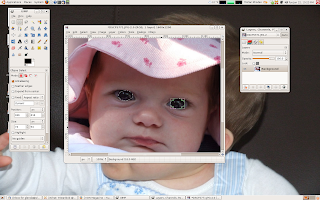 After you have both eye selected, copy your selection. You can do this by clicking Ctrl +C or by going to the edit menu and choosing copy.
 Create a new layer to paste your selection (the two eyeballs) into. This is done by clicking on the new layer button at the bottom left of the layer box. The default parameters are fine, click "ok"
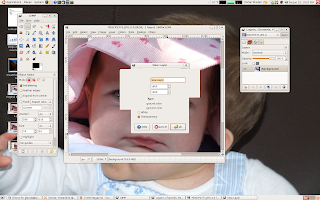 Once your new layer is created, select "Paste Into" on the edit menu.
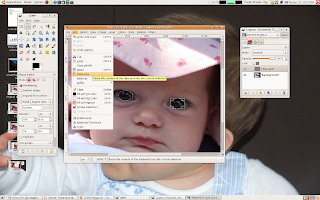 This will place a copy of your eyeballs onto the new layer. If you look in the layer box, you will see they are still listed as a floating selection. Anchor the eyes into the new layer by clicking on the anchor button at the bottom of the layer box.
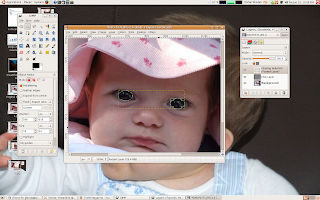 To see what this new layer looks like, I turned off the background layer. You can do this by clicking on the eye next to the layer name. I also renamed my layer to eye 1.
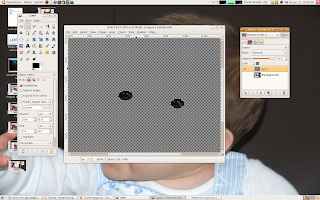 Run an unsharp mask on your eye layer. This is located under Filters>Enhance>Unsharp Mask
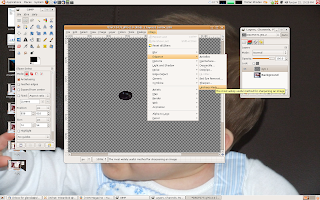 The unsharp mask dialog box will open. I used values of 8/1/0. The GIMP unsharp mask is different than a Photoshop unsharp mask in that the "Amount" is not listed as a %. Click "OK' to close the box.
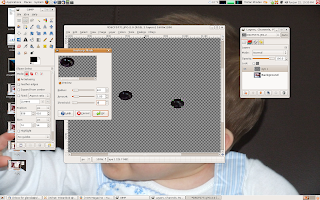 Create a duplicate of your sharpened eye later by clicking on the duplicate layer box at the bottom of the layer dialog box. You can also create a duplicate layer by going to Layer>Duplicate Layer.
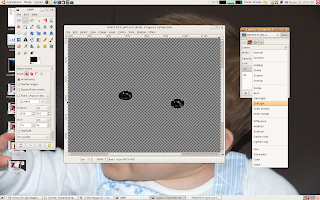
Change the top eye layer to "Soft Light" in the drop down menu on the layer dialog box.
 Here is the final product! If you are working with lighter eyes you may want to adjust the opacity (probably of the middle layer) until it looks the way you want it.
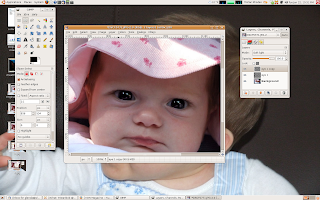 And the original again just for comparison