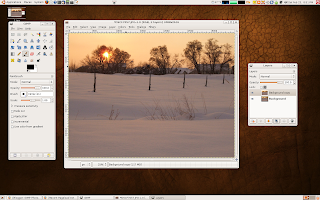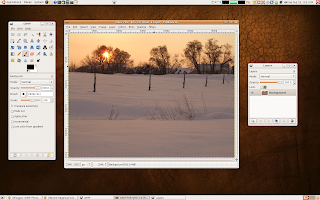
This is a way to saturate colors, and how to apply saturation to only a part of a photo.
Open your photo
Create a duplicate layer
In the layer dialog, there is a drop down menu titled Mode. In the drop down, choose multiply.
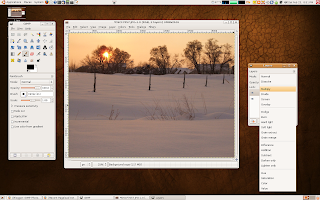
This saturates the colors, making them darker and richer.
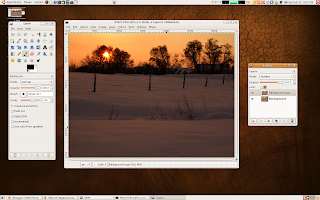
If you really want to bring out color, you can make a duplicate layer of your top layer.
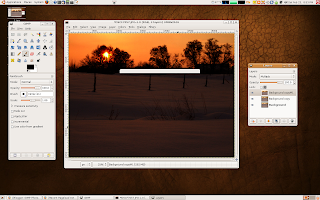
I choose to work with just one multiply layer. Depending on the picture, this may even be too much, and you can adjust the opacity (right below the mode drop down) to get the color to look the way you want it to.
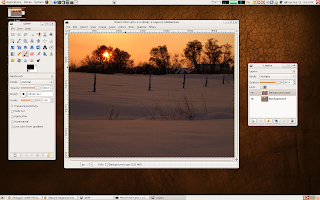
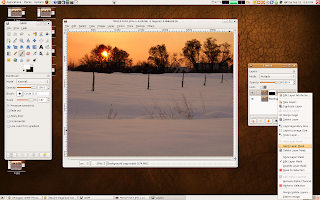
Now that I have my color looking the way I want it, the snow area looks a little dark. I am going to erase the saturated layer where the snow is to bring out the original snow color. I do this with a layer mask. Right click on the top layer, and choose Add Layer Mask.
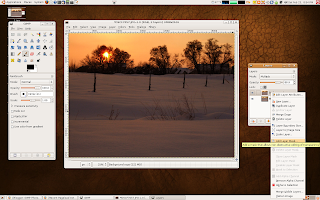
Because I am going to be taking the saturation out of most of the picture, I am going to start my layer mask off as black. That means that the background (bottom layer) will show through on the whole picture.
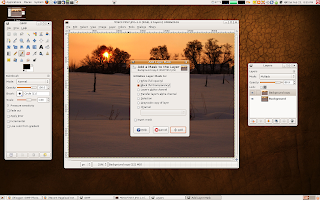
With the layer mask added the picture looks like the original
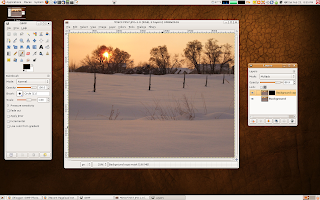
Next I choose the free select tool (third from the left on the top row, it looks like a lasso.
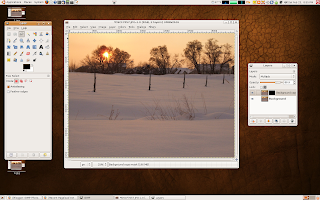
Using the free select tool, I draw on the horizon line, the up the side, across the top of the picture, and down to where I started (Basically circle the sky).
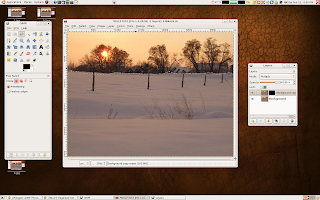
Next, I choose white as my active color in the color palate (the top square of the two below all the tools is the active color). Click in the white square and drag it (holding the mouse button down) inside the circle you selected. When you add what, that lets the top layer (our saturation show).
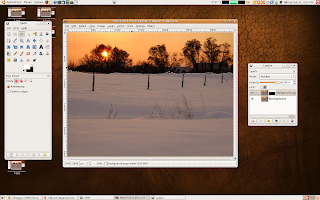
Use the paint brush to do the fine tuning. Any areas that should be saturated, paint over with the white color. Any areas that should not be saturated, paint with the black.
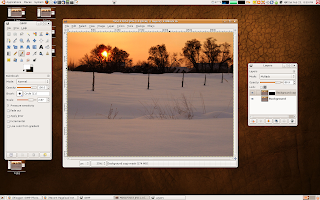
Once you are done, right click on the top layer and choose Apply Layer Mask.
Here is the final product.
Saturday, February 23, 2008
Bringing out the subject-Bluring the background
This is a method for brining out a subject from a distracting background. You can also use it if you have a camera like mine, where the aperture won't get quite to where you need it to to give you the nice blurry background on a portrait type picture.
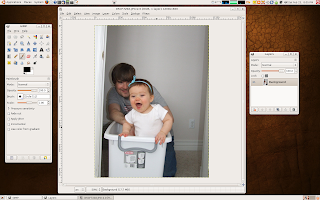
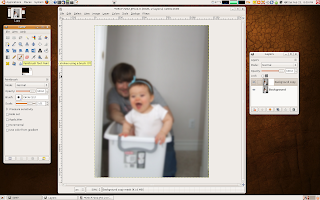
First I started with a picture I liked the subject in but not necessarily the background. In this picture I really liked the look on my daughter's face, but my husband is mostly hidden and positioned so that he is taking away from the main focus. This probably isn't the best picture for this technique, as the subject (my daughter) and the background (my husband) are pretty close together, but it still ends with a nice look.
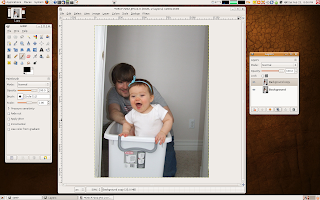
The first thing to do is make a duplicate layer. That is alway a good idea, but in this case we will actually need the good background.
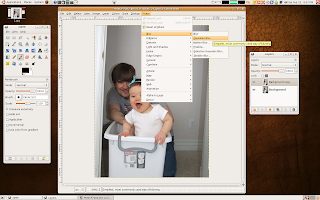
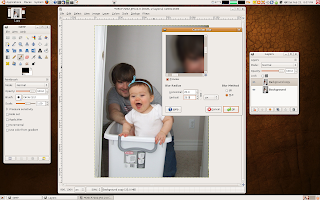
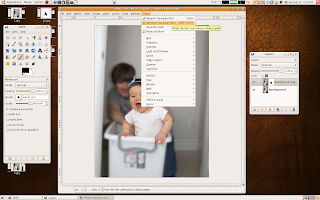
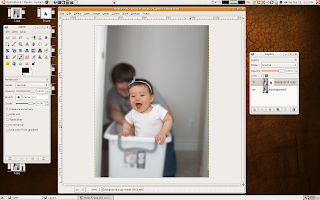
Next run a gaussian blur on the new (top) layer. This is under filters>blur>gaussian blur.
You can choose a number that gives you the amount of blur you want in the background. For this example I did a Gaussian blur of 25.
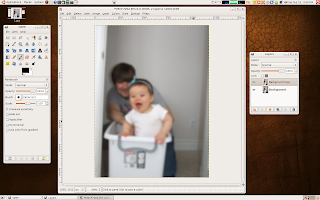
Here is what the blurred picture looks like.
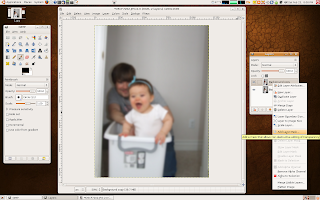
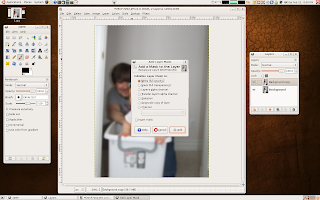
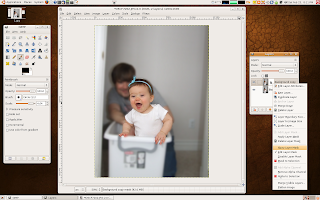
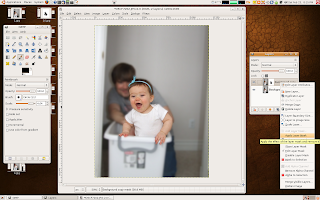
Next, we are going to erase the part of the blurred layer where we want our crisp image to show up. The easiest way to do this is using a layer mask. That is because if you erase too much you can fix it quickly. Right click on the top layer and choose Add Layer Mask.
The layer mask window will appear. The default layer mask is white (full opacity). In the layer mask anything that is white our top layer will show, anything that is black, our bottom layer will show. Since we want most of our top layer to show, starting with the layer mask white is the best choice.
Next choose the paint brush tool. Make sure your color choice is set to black (see the color pallet-the top square is your chosen color).
Using the paint brush tool, paint on the area you want to be clear. For this particular technique, your lines don't have to be perfect, but they should be close. You can change your brush tool if you want to, using the controls on the bottom of the main dialog window.
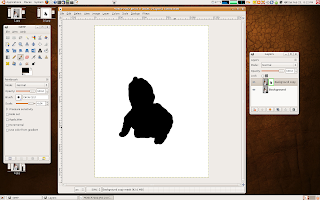
Once you have the subject outlined, or mostly painted, switch to layer mask view, to see if you have missed any spots. To do this right click on the top layer and choose Show Layer Mask.
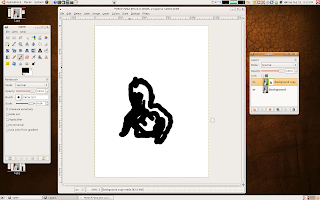
This will show you the black and white layer mask. If you have painted a good outline, fill in the rest of the subject with black....
Like this....
Right click on the top layer and choose Show Layer Mask again to go back into normal view. See how the subject is clear while the rest is blurry. Right now, it is still a pretty sharp change between the subject and the background though.
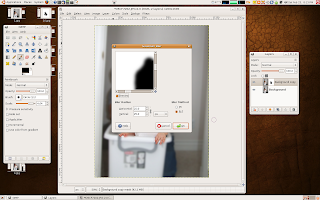
To fix that, we will run a blur on the layer mask. That will blur the layer mask, so the transition between the two layers isn't so sharp. Go to Filters, and choose Reshow Gaussian Blur.
This brings up the blur dialog again. You can choose a number that will make the black/white transition a little less harsh. For this example I left it at 25.
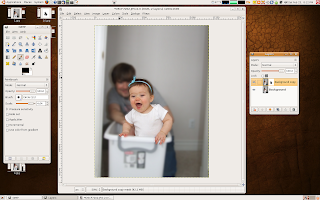
Once the blur is run, your picture should have a sharp subject, and a blurry less distracting background. Now the focus is more on what you want it on. If you don't like the way it looks, try going back and tweaking some of the blur values, or the layer mask boundaries.
Once you have a picture you really like, right click on the top layer and choose Apply Layer Mask. You can then flatten the image and save it.
And, here is the final product.
Tuesday, January 22, 2008
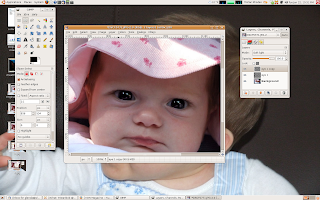
Simple GIMP eye pop
Here is a little something that will really help eyes stand out in your photographs.
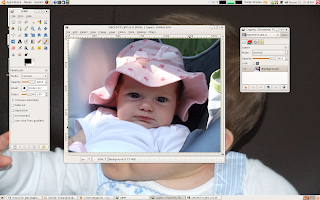
Start with your original image open in GIMP.
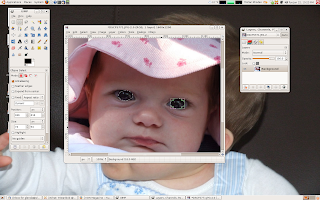
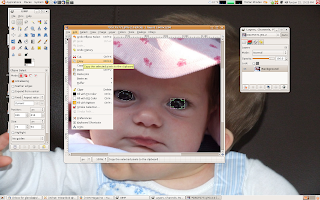
Use the ellipse tool (on the top row second from the left) to choose the iris (colored part) of the first eye.
Hold down the shift key and click to add the second eye to the selection. To adjust the circle on the second eye let go of the shift key and make sure you choose one of the corner boxes to move. Otherwise you will make a second ellipse on that eye. This may take a few times to get right until you are used to doing it. After you have both eye selected, copy your selection. You can do this by clicking Ctrl +C or by going to the edit menu and choosing copy.
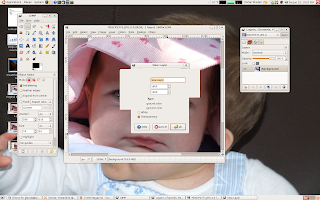
Create a new layer to paste your selection (the two eyeballs) into. This is done by clicking on the new layer button at the bottom left of the layer box. The default parameters are fine, click "ok"
Once your new layer is created, select "Paste Into" on the edit menu.
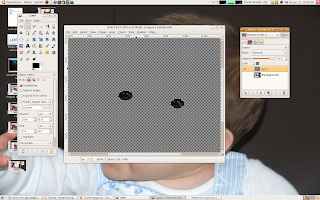
This will place a copy of your eyeballs onto the new layer. If you look in the layer box, you will see they are still listed as a floating selection. Anchor the eyes into the new layer by clicking on the anchor button at the bottom of the layer box.
To see what this new layer looks like, I turned off the background layer. You can do this by clicking on the eye next to the layer name. I also renamed my layer to eye 1.
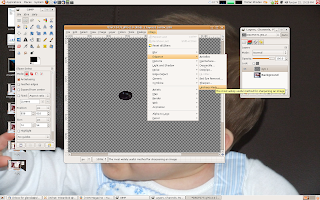
Run an unsharp mask on your eye layer. This is located under Filters>Enhance>Unsharp Mask
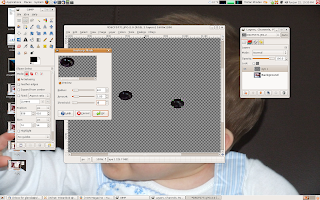
The unsharp mask dialog box will open. I used values of 8/1/0. The GIMP unsharp mask is different than a Photoshop unsharp mask in that the "Amount" is not listed as a %. Click "OK' to close the box.
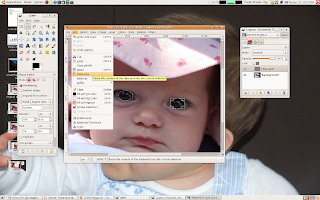
Create a duplicate of your sharpened eye later by clicking on the duplicate layer box at the bottom of the layer dialog box. You can also create a duplicate layer by going to Layer>Duplicate Layer.
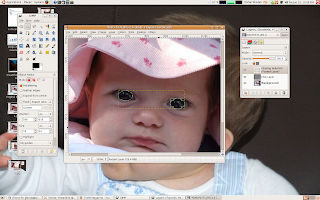
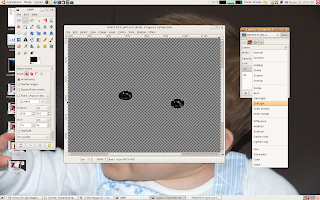
Change the top eye layer to "Soft Light" in the drop down menu on the layer dialog box.
Here is the final product! If you are working with lighter eyes you may want to adjust the opacity (probably of the middle layer) until it looks the way you want it.
And the original again just for comparison
Subscribe to:
Posts (Atom)